Box Project 3 - Researching Finishes
is a long and impressive one. When done right, the result is not only beautiful, but the lacquer itself cures through oxidation and polymerization to form a a kind of natural plastic that is extremely robust and can last over a thousand years. The process of applying it is long and arduous and includes lots of noxious and toxic vapors even if you can find the authentic ingredients and complete step-by-step instructions. Not to mention that, if you don't know what you're doing, getting it on your skin can result in "urusiol-induced contact dermatitis". And having read enough about exotic tree resins from sou-east Asia I decided that there had to be a better way that I personally could achieve good results.
There are all kinds of commercial lacquers out there both acryllic based and nitrocellulose. But the first thing their labels mention is about how to paint a car. Somehow I don't think this is what I have in mind. There are water-based lacquers too. But the general consensus is that the finish they produce is relatively fragile. If I am going to put all this effort into something I want it to last. So moving on......
Then I came to "Japanning". Oriental lacquerware was quite popular in the late 17th and 18th centuries. Due to the high cost of importing both the goods and the materials, Europeans developed imitations of their own that were effectively a different technique of lacquering based on shellac. I finally located a plain-spoken practical source on how to do this. The Handbook on Japanning: 2nd Edition by William Norman Brown, D. van Nostrand, New York, 1913. Although most of the book is about applying japanning to metal as an enameling technique, the fir 11 pages are all about applying it to wood. From the first step of preparing the surface, to priming and then application, it leaves out nothing. Complete with exact recipes not only for the varnish itself but for exactly how to put which pigments in it to achieve the color you like. The language is stilted and pedantic and I will have to take some time taking it from antique book to studio notes, but with a little effort all the information is laid out one step at a time. I have painted icons before and am familiar with this technique of sizing and gesso-priming a surface. It will take patience and care, but I think it's well within my scope to be able to turn out a creditable outcome.
Lining Up my Ducks
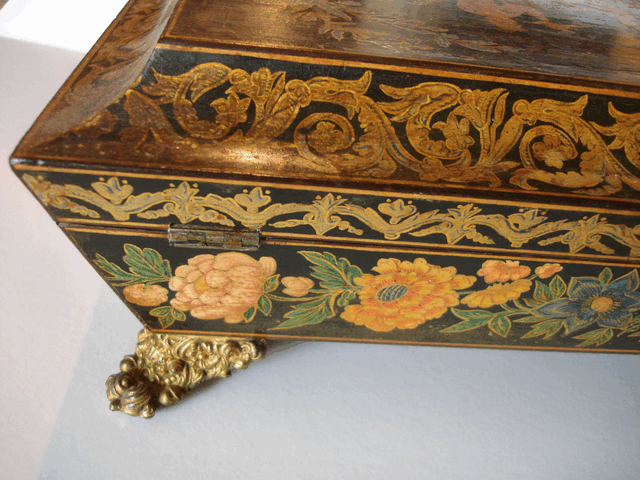
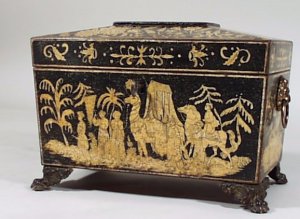
That being said, I've turned my attention to how I will eventually decorate it. Neither Phillip nor I have the time, patience or (probably) skill to redo the veneer entirely. But in my researches I have found that many of the boxes like this were decorated with paint in a technique called "penwork".

But as you can see, it isn't limited to that either. There is also red backgrounds and verdigris green. Unlike Medieval and Renaissance boxes referred to as "polychromed wood", these boxes seem to be done in a process more akin to Russian Palek boxes. A box is covered first with a primer, then several layers of black lacquer. Then the design is put on in metallic paint and painted over with colors. The whole thing is then covered with several layers or clear lacquer. (www.russianamericancompany.com…) This is a lot more robust and durable than regular polychroming which is paint over layers of gesso. I think I can make a decent stab at pretty design work that, while it may not be up to Palek box standards, may be nicely done nonetheless. Time to dig out my air brush and see if it will suit the lacquer.
And while we're on the subject, how about those brass hairy paw feet. I know I can do them as I already made feet like that for another box and I still have all the molds. All-in-all this may take what seems like forever, but if I'm careful and do it right it could turn out splendidly. Be that as it may, I still have to be about the very tedious business of removing that veneer. But its dreams like this that keep me going.
A New Project - A Regency Box
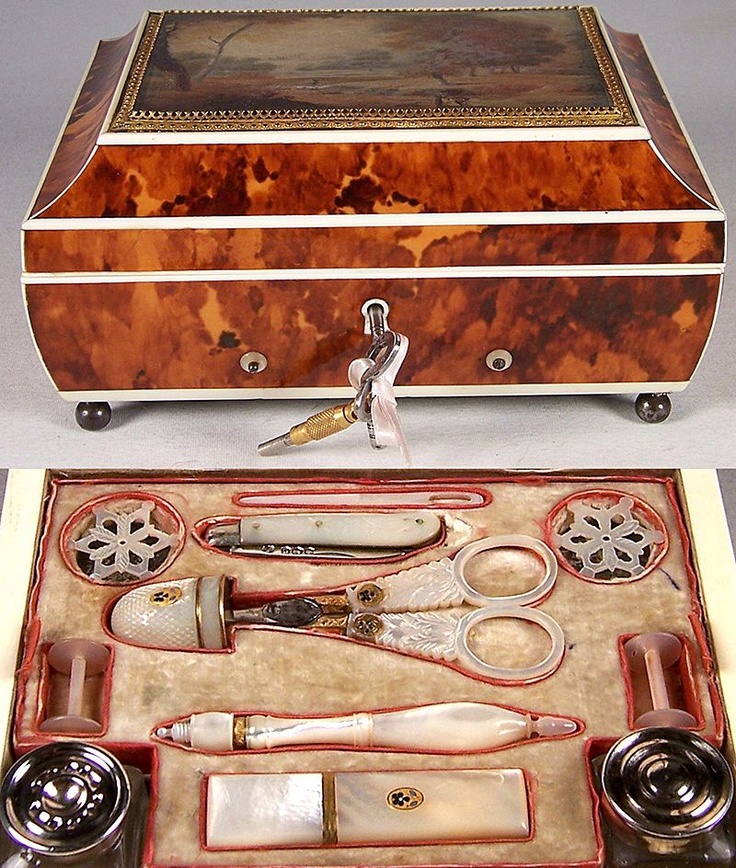
I see by the dates its been a very long time since I posted here. So maybe its time I updated things. Maybe its something about summer and being shut in the house with the air conditioning droning on and on. And maybe its summer that makes me think in terms of embarking on long-term projects. No, I always think in terms of really big projects. LOL This time the idea was sparked by members of an embroidery list I belong to. One of the members has been posting pictures of gorgeous Palais Royale sewing boxes. Richly glowing exotic veneer coffers laden with exquisitely carved mother-of-pearl sewing tools such as would have been used by Marie Antoinette and her court ladies. Understandably, there has been lots of cooing and twittering about how really delicious these boxes are.
Then another member had this brilliant suggestion - why don't we each make such a precious box. Embroidered interior, lovely exterior, a home for our best tools and treasures. Of course, there were a certain number of us who instantly rose to the bait. I'll admit it, I love beautiful sewing tools and I am a total sucker for precious beautiful boxes. . Once Phillip referred to me as the "Container Queen". Guilty as charged. I have a few carved and painted ones - even a couple I've done myself. But Palais Royale ?!?.... So shared all this with Phillip knowing that he'd be amused at the tempest in the embroidery teapot. And then he asked me "So are you going to use The Box?"
Yes, there's a back story here. In the world of antique restoration, Phillip's father was a recognized genius when it can to finding and bringing old things back to life. Living around his shop was like being present at an ever-revolving museum show. Every time he opened his truck it was a new Cave of Wonders. Then when the pieces left to make their debut at another show, they were glowing with renewed life. Sometimes he bought whole job lots of things that included things he didn't really want or never got around to dealing with. Mostly small things. He passed away last year after a lingering illness and his shop of 40+ years got gradually cleaned out. One afternoon Phillip came in with a box he'd found under a pile of trash and sawdust. Filthy, pealing its veneer at every touch, threatening any minute to disassemble itself to splinters - but underneath all that, voluptuously curved and elegantly domed. The poor ruin of what was once a lovely Regency box - perhaps for stationary, perhaps for sewing.
He knew I would like to see it even in its present tragic state and, of course, I couldn't let him just toss it out. So, it has lived on a shelf in my work room ever since - waiting... Because I don't have the skills to do the re-gluing of its compound surfaces. So last night at his suggestion we looked at it again and he judged that with the right skill set it could be reglued and begin its journey to a new life. He promised to put it back together so I can do the rest. I certainly have no Palais Royale tools, but I do have some lovely bone ones that Phillip has carved - we will see what comes. Right now the fun is having a head full of ideas and a project of Great Potential.

